t3.nanoのAmazon Linux 2にWordPressの環境を構築する(PHP8.1編)の続きです。
今回はnginxをインストールしていきたいと思います。yumコマンドでインストールしていきます。
読み込んだプラグイン:extras_suggestions, langpacks, priorities, update-motd
amzn2-core | 3.7 kB 00:00:00
220 packages excluded due to repository priority protections
依存性の解決をしています
–> トランザクションの確認を実行しています。
—> パッケージ nginx.x86_64 1:1.20.1-10.el7 を インストール
–> 依存性の処理をしています: nginx-filesystem = 1:1.20.1-10.el7 のパッケージ: 1:nginx-1.20.1-10.el7.x86_64
–> 依存性の処理をしています: libcrypto.so.1.1(OPENSSL_1_1_0)(64bit) のパッケージ: 1:nginx-1.20.1-10.el7.x86_64
…….
–> 依存性の処理をしています: libprofiler.so.0()(64bit) のパッケージ: 1:nginx-1.20.1-10.el7.x86_64
–> 依存性の処理をしています: libssl.so.1.1()(64bit) のパッケージ: 1:nginx-1.20.1-10.el7.x86_64
–> トランザクションの確認を実行しています。
—> パッケージ amazonlinux-indexhtml.noarch 0:1-1.amzn2 を インストール
—> パッケージ gperftools-libs.x86_64 0:2.6.1-1.amzn2 を インストール
—> パッケージ nginx-filesystem.noarch 1:1.20.1-10.el7 を インストール
—> パッケージ openssl11-libs.x86_64 1:1.1.1g-12.amzn2.0.9 を インストール
–> 依存性の処理をしています: openssl11-pkcs11 のパッケージ: 1:openssl11-libs-1.1.1g-12.amzn2.0.9.x86_64
–> トランザクションの確認を実行しています。
—> パッケージ openssl11-pkcs11.x86_64 0:0.4.10-6.amzn2.0.1 を インストール
–> 依存性解決を終了しました。
依存性を解決しました
=====================================================================
Package アーキテクチャー バージョン リポジトリー 容量
=====================================================================
インストール中:
nginx x86_64 1:1.20.1-10.el7 epel 588 k
依存性関連でのインストールをします:
amazonlinux-indexhtml noarch 1-1.amzn2 amzn2-core 4.1 k
gperftools-libs x86_64 2.6.1-1.amzn2 amzn2-core 274 k
nginx-filesystem noarch 1:1.20.1-10.el7 epel 24 k
openssl11-libs x86_64 1:1.1.1g-12.amzn2.0.9 amzn2-core 1.4 M
openssl11-pkcs11 x86_64 0.4.10-6.amzn2.0.1 amzn2-core 61 k
トランザクションの要約
=====================================================================
インストール 1 パッケージ (+5 個の依存関係のパッケージ)
総ダウンロード容量: 2.4 M
インストール容量: 6.7 M
Is this ok [y/d/N]: y
Downloading packages:
(1/6): amazonlinux-indexhtml-1-1.amzn2.noarch.rpm | 4.1 kB 00:00:00
warning: /var/cache/yum/x86_64/2/epel/packages/nginx-1.20.1-10.el7.x86_64.rpm: Header V4 RSA/SHA256 Signature, key ID 352c64e5: NOKEY
nginx-1.20.1-10.el7.x86_64.rpm の公開鍵がインストールされていません
(2/6): nginx-1.20.1-10.el7.x86_64.rpm | 588 kB 00:00:00
(3/6): nginx-filesystem-1.20.1-10.el7.noarch.rpm | 24 kB 00:00:00
(4/6): gperftools-libs-2.6.1-1.amzn2.x86_64.rpm | 274 kB 00:00:00
(5/6): openssl11-pkcs11-0.4.10-6.amzn2.0.1.x86_64.rpm | 61 kB 00:00:00
(6/6): openssl11-libs-1.1.1g-12.amzn2.0.9.x86_64.rpm | 1.4 MB 00:00:00
—————————————————————————————————————————–
合計 8.4 MB/s | 2.4 MB 00:00:00
file:///etc/pki/rpm-gpg/RPM-GPG-KEY-EPEL-7 から鍵を取得中です。
Importing GPG key 0x352C64E5:
Userid : “Fedora EPEL (7)
Fingerprint: 91e9 7d7c 4a5e 96f1 7f3e 888f 6a2f aea2 352c 64e5
Package : epel-release-7-11.noarch (@amzn2extra-epel)
From : /etc/pki/rpm-gpg/RPM-GPG-KEY-EPEL-7
上記の処理を行います。よろしいでしょうか? [y/N]y
Running transaction check
Running transaction test
Transaction test succeeded
Running transaction
インストール中 : 1:openssl11-libs-1.1.1g-12.amzn2.0.9.x86_64 1/6
インストール中 : openssl11-pkcs11-0.4.10-6.amzn2.0.1.x86_64 2/6
インストール中 : amazonlinux-indexhtml-1-1.amzn2.noarch 3/6
…….
検証中 : 1:openssl11-libs-1.1.1g-12.amzn2.0.9.x86_64 4/6
検証中 : amazonlinux-indexhtml-1-1.amzn2.noarch 5/6
検証中 : 1:nginx-1.20.1-10.el7.x86_64 6/6
インストール:
nginx.x86_64 1:1.20.1-10.el7
依存性関連をインストールしました:
amazonlinux-indexhtml.noarch 0:1-1.amzn2 gperftools-libs.x86_64 0:2.6.1-1.amzn2
nginx-filesystem.noarch 1:1.20.1-10.el7 openssl11-libs.x86_64 1:1.1.1g-12.amzn2.0.9
openssl11-pkcs11.x86_64 0:0.4.10-6.amzn2.0.1
完了しました!
インストールが完了しました。バージョンを確認します。
nginx version: nginx/1.20.1
nginxの設定を確認してみたいと思います。
$ ls -lv
合計 68
drwxr-xr-x 2 root root 26 11月 10 16:58 conf.d
drwxr-xr-x 2 root root 22 11月 10 16:58 default.d
-rw-r–r– 1 root root 1077 11月 10 16:58 fastcgi.conf
-rw-r–r– 1 root root 1077 11月 10 16:58 fastcgi.conf.default
-rw-r–r– 1 root root 1007 11月 10 16:58 fastcgi_params
-rw-r–r– 1 root root 1007 11月 10 16:58 fastcgi_params.default
-rw-r–r– 1 root root 2837 11月 10 16:58 koi-utf
-rw-r–r– 1 root root 2223 11月 10 16:58 koi-win
-rw-r–r– 1 root root 5231 11月 10 16:58 mime.types
-rw-r–r– 1 root root 5231 11月 10 16:58 mime.types.default
-rw-r–r– 1 root root 2336 11月 10 16:58 nginx.conf
-rw-r–r– 1 root root 2656 11月 10 16:58 nginx.conf.default
-rw-r–r– 1 root root 636 11月 10 16:58 scgi_params
-rw-r–r– 1 root root 636 11月 10 16:58 scgi_params.default
-rw-r–r– 1 root root 664 11月 10 16:58 uwsgi_params
-rw-r–r– 1 root root 664 11月 10 16:58 uwsgi_params.default
-rw-r–r– 1 root root 3610 11月 10 16:58 win-utf
nginx.confの中身を確認してみます。
# For more information on configuration, see:
#   * Official English Documentation: http://nginx.org/en/docs/
#   * Official Russian Documentation: http://nginx.org/ru/docs/

user nginx;
worker_processes auto;
error_log /var/log/nginx/error.log;
pid /run/nginx.pid;

# Load dynamic modules. See /usr/share/doc/nginx/README.dynamic.
include /usr/share/nginx/modules/*.conf;

events {
    worker_connections 1024;
}

http {
    log_format  main  '$remote_addr - $remote_user [$time_local] "$request" '
                      '$status $body_bytes_sent "$http_referer" '
                      '"$http_user_agent" "$http_x_forwarded_for"';

    access_log  /var/log/nginx/access.log  main;

    sendfile            on;
    tcp_nopush          on;
    tcp_nodelay         on;
    keepalive_timeout   65;
    types_hash_max_size 4096;

    include             /etc/nginx/mime.types;
    default_type        application/octet-stream;

    # Load modular configuration files from the /etc/nginx/conf.d directory.
    # See http://nginx.org/en/docs/ngx_core_module.html#include
    # for more information.
    include /etc/nginx/conf.d/*.conf;

    server {
        listen       80;
        listen       [::]:80;
        server_name  _;
        root         /usr/share/nginx/html;

        # Load configuration files for the default server block.
        include /etc/nginx/default.d/*.conf;

        error_page 404 /404.html;
        location = /404.html {
        }

        error_page 500 502 503 504 /50x.html;
        location = /50x.html {
        }
    }

# Settings for a TLS enabled server.
#
#    server {
#        listen       443 ssl http2;
#        listen       [::]:443 ssl http2;
#        server_name  _;
#        root         /usr/share/nginx/html;
#
#        ssl_certificate "/etc/pki/nginx/server.crt";
#        ssl_certificate_key "/etc/pki/nginx/private/server.key";
#        ssl_session_cache shared:SSL:1m;
#        ssl_session_timeout  10m;
#        ssl_ciphers HIGH:!aNULL:!MD5;
#        ssl_prefer_server_ciphers on;
#
#        # Load configuration files for the default server block.
#        include /etc/nginx/default.d/*.conf;
#
#        error_page 404 /404.html;
#            location = /40x.html {
#        }
#
#        error_page 500 502 503 504 /50x.html;
#            location = /50x.html {
#        }
#    }

}
ファイルの36行目に以下のような記載がありました。
/etc/nginx/conf.dディレクトリの下の全ての設定ファイルを読み込んでいます。どんなファイルがあるか確認してみます。
合計 4
-rw-r–r– 1 root root 136 10月 31 22:12 php-fpm.conf
php-fpmに関する設定ファイルでした。
※ php-fpmとは?
PHP: FastCGI Process Manager (FPM) – Manual
ファイルの中身を確認すると、
# PHP-FPM FastCGI server
# network or unix domain socket configuration

upstream php-fpm {
        server unix:/run/php-fpm/www.sock;
}
「nginxとphp-fpmのメッセージのやり取りをUNIXドメインソケットという方式で行う」というようなことが書かれています。ちなみに、php-fpm側の設定ファイル「/etc/php-fpm.d/www.conf」にも同じような記述がないといけません(以下の記述がデフォルトでされています)。
nginx.confファイルのもう少し下の行を見ると、45行目に以下のような記述がありました。
/etc/nginx/default.dディレクトリの下の全ての設定ファイルを読み込んでいます。どんなファイルがあるか確認してみます。
合計 4
-rw-r–r– 1 root root 473 10月 31 22:12 php.conf
php.confというファイルがありました。nginxがphpファイルにアクセスされた時に必要な設定が記述されています。
# pass the PHP scripts to FastCGI server
#
# See conf.d/php-fpm.conf for socket configuration
#
index index.php index.html index.htm;

location ~ \.(php|phar)(/.*)?$ {
    fastcgi_split_path_info ^(.+\.(?:php|phar))(/.*)$;

    fastcgi_intercept_errors on;
    fastcgi_index  index.php;
    include        fastcgi_params;
    fastcgi_param  SCRIPT_FILENAME  $document_root$fastcgi_script_name;
    fastcgi_param  PATH_INFO $fastcgi_path_info;
    fastcgi_pass   php-fpm;
}
以前のバージョンのnginxはこの設定を自分で追記していましたが、新しいバージョンではデフォルトでphpが動くようになっているようです。
php-fpmの設定も一部だけ修正しておきます。
$ sudo vi /etc/php-fpm.d/www.conf

.......

; Unix user/group of processes
; Note: The user is mandatory. If the group is not set, the default user's group
;       will be used.
; RPM: apache user chosen to provide access to the same directories as httpd
user = nginx
; RPM: Keep a group allowed to write in log dir.
group = nginx

.......
userとgroupがapacheとなっているのでnginxに変更しておきましょう。
nginxとphp-fpmを起動します。
$ sudo systemctl start php-fpm
nginxのコンテキストルートにphpファイルを作成します。
中身は、
<?php phpinfo(); ?>
としました。
ブラウザでアクセスしてみます。
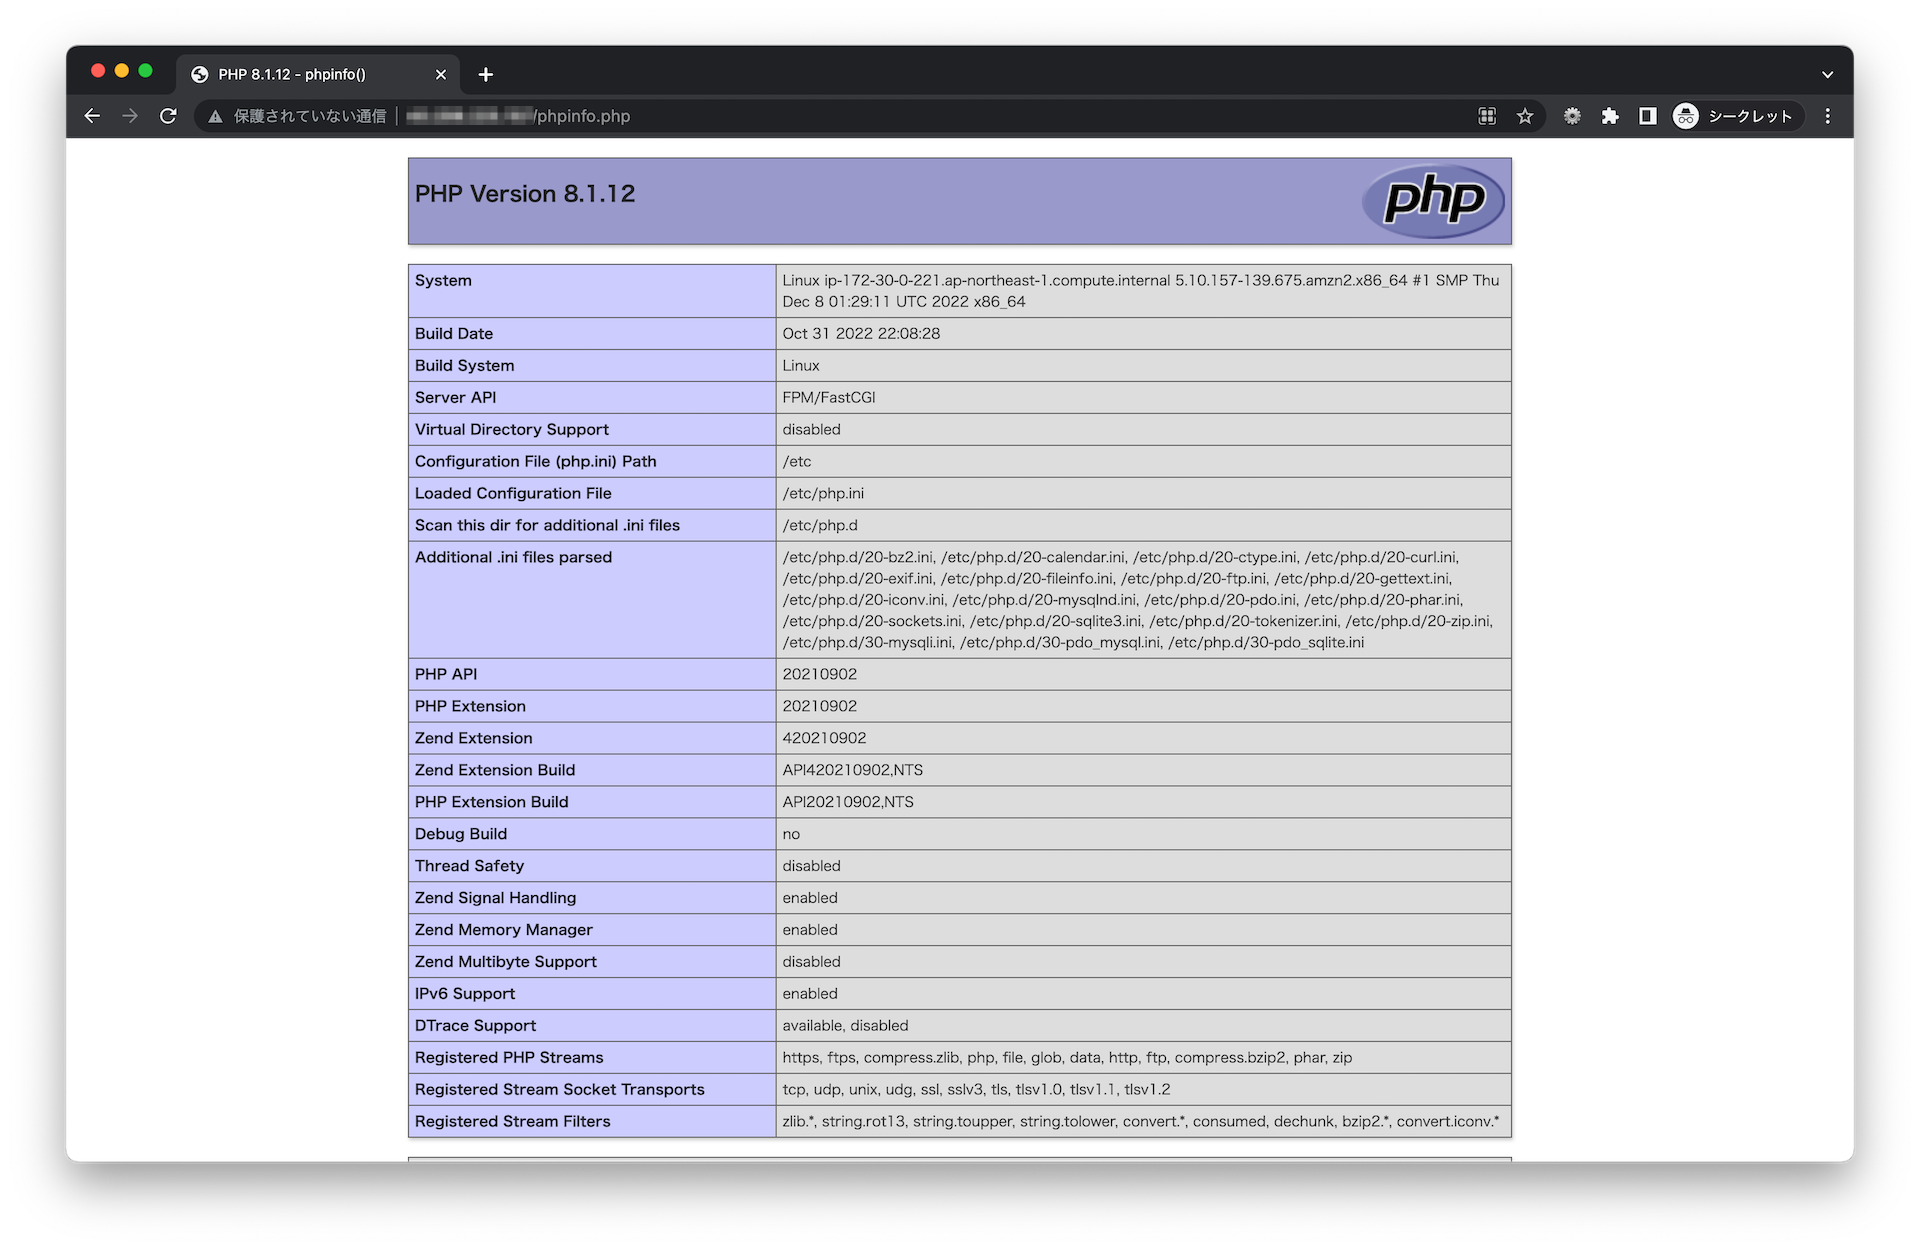
はい。phpinfoが表示されました。
最後に、サーバ起動時に自動で起動する設定をしておきましょう。
Created symlink from /etc/systemd/system/multi-user.target.wants/nginx.service to /usr/lib/systemd/system/nginx.service.
$ sudo systemctl enable php-fpm
Created symlink from /etc/systemd/system/multi-user.target.wants/php-fpm.service to /usr/lib/systemd/system/php-fpm.service.
続きは次の記事でやっていきたいと思います!